Navigating the world of PETG sheet lamination can be challenging. One of the most common issues faced by professionals and hobbyists alike is bubbles forming during the lamination process. Understanding how to solve bubbles in PETG sheet lamination is crucial for achieving a clean, professional finish.
Effective lamination requires precision and attention to detail. Bubbles can detract from the overall appearance and strength of the laminated product. Each bubble is a potential point of failure. Many factors contribute to this problem, including temperature fluctuations and inadequate pressure.
It's essential to adopt a thoughtful approach. A minor oversight can lead to significant imperfections. Techniques like proper surface preparation and the right adhesive application can mitigate these issues. Experimentation plays a key role. Sometimes, refining your process takes time and practice. Overcoming these challenges not only enhances your work but also builds expertise in lamination techniques.
Understanding the Properties of PETG Sheets for Lamination
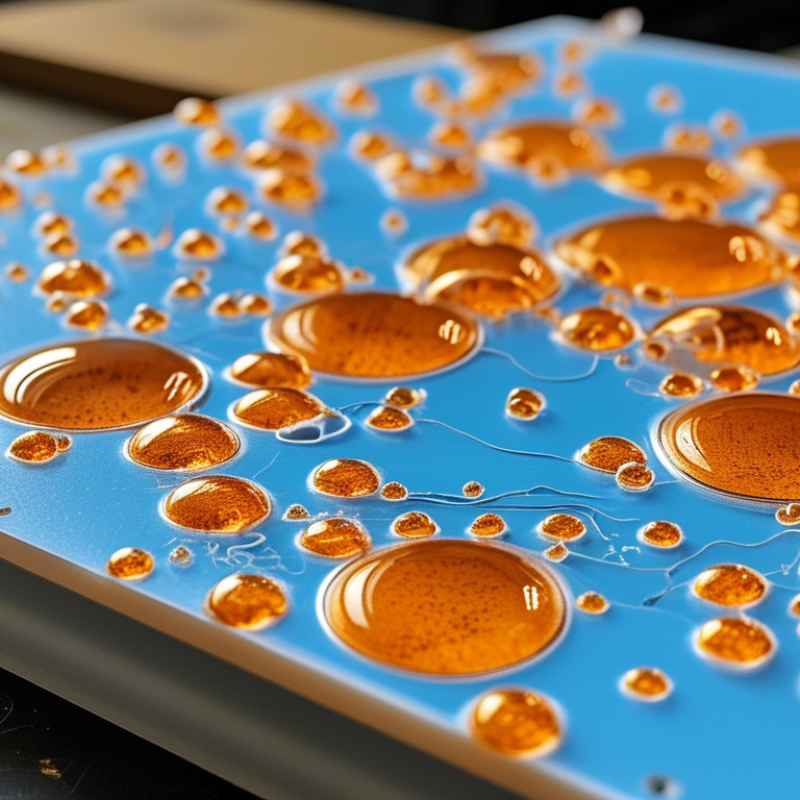
When working with PETG sheets for lamination, understanding their properties is crucial. PETG, or glycol-modified polyethylene terephthalate, is known for its clarity and impact resistance. These sheets are flexible yet durable, making them ideal for various applications. However, their characteristics can also lead to bubbles during the lamination process. These bubbles can compromise the aesthetics and functionality of the final product.
Temperature plays a significant role in lamination. If the heat is too high, it can cause the PETG to warp, leading to imperfections. Conversely, low temperatures may not bond effectively, resulting in trapped air. It’s essential to find the right balance to avoid such issues. Additionally, the surface cleanliness of the PETG sheets affects adhesion. Dust or oils can become trapped under layers, creating bubbles that are difficult to remove later. These details must not be overlooked, as even the smallest particle can cause significant blemishes in the final result.
Using a proper sealing technique can help minimize bubbles. Applying pressure evenly is key to eliminating air pockets during the lamination process. However, it may take practice to perfect this technique. Many experience challenges initially, which can lead to frustration. Reflecting on these experiences can lead to better practices and improvements over time.
Common Causes of Bubbles in PETG Sheet Lamination
When working with PETG sheet lamination, bubbles can be a frustrating issue. One common cause of bubbles is moisture trapped in the material. PETG is hygroscopic, which means it absorbs moisture from the air. If sheets are not properly dried, this moisture can turn to steam during the lamination process. Always ensure that your materials are stored in a dry environment and pre-dried before use.
Another frequent culprit for bubbles is improper temperature settings. If the laminating machine operates at too low a temperature, adhesion may not occur completely. This results in pockets of air between layers. Conversely, excessive heat can cause the PETG to warp, also leading to bubbles. It's crucial to calibrate temperatures according to the manufacturer's specifications for optimal results.
In addition, the surface preparation plays a significant role. Dust, oils, or residues can prevent proper adhesion and trap air. Thorough cleaning is essential. Skipping this step may seem minor but can significantly impact the final quality of your laminated sheets. Recognizing these potential pitfalls is key, even for seasoned professionals.
Effective Pre-lamination Surface Preparation Techniques
Effective surface preparation is crucial for PETG sheet lamination. Bubbles often form due to inadequate prep work. According to industry reports, poor surface conditions account for 30% of delamination issues. Ensuring a clean, roughened surface is essential.
To mitigate this, consider these tips: Clean the surface thoroughly using isopropyl alcohol. Any residue can create imperfections. Lightly sanding with fine grit paper creates a slightly rough texture. This increases adhesion and reduces bubble formation.
Another tip is to apply a primer designed for PETG. A suitable primer enhances the bond between layers. Observing the environment is also vital; humidity affects lamination quality. Control the workspace conditions to prevent moisture-related issues. These steps can significantly improve the lamination process and minimize frustrating errors. Remember, constant evaluation of your technique will lead to better results.
10 Tips to Solve Bubbles in PETG Sheet Lamination
Best Practices for Adhesive Application to Minimize Bubbles
When laminating PETG sheets, adhesive application is crucial. Proper techniques can help minimize bubbles, ensuring a smooth finish. Start by cleaning surfaces thoroughly. Dust and dirt can create issues, leading to imperfections. Use a lint-free cloth and a suitable cleaner. This step is often overlooked but is essential.
When applying adhesive, work in small sections. Too much adhesive at once can trap air. Spread it evenly with a spatula or roller. Pay attention to the edges, where bubbles tend to form. Don’t rush; take your time. Check your work frequently. If bubbles appear, you may need to adjust your technique. Employing gentle pressure can help, but avoid excessive force.
After application, consider using a heat gun cautiously. This can help release trapped air. However, keep the heat source moving to prevent distortion. Remember that practice makes perfect. You might not get it right the first time. Reflect on what went wrong if bubbles arise. Learning from mistakes can lead to better results in the future.
10 Tips to Solve Bubbles in PETG Sheet Lamination
| Tip Number |
Tip Description |
Best Practice |
| 1 |
Preheat the PETG sheets before lamination. |
Use a heat gun to warm sheets evenly. |
| 2 |
Use the right adhesive. |
Select adhesives designed for PETG. |
| 3 |
Apply adhesive evenly. |
Use a roller or a squeegee for a smooth application. |
| 4 |
Control the environment. |
Ensure low humidity and stable temperature. |
| 5 |
Avoid air pockets during application. |
Middle to edge method when laying sheets. |
| 6 |
Use a vacuum bag. |
Create a vacuum to eliminate trapped air. |
| 7 |
Let laminations cure completely. |
Follow product instructions on curing times. |
| 8 |
Inspect lamination regularly. |
Monitor for bubbling and adhesion issues. |
| 9 |
Keep work surfaces clean. |
Ensure no dust or debris is present. |
| 10 |
Document the process. |
Record what works and what doesn't for future reference. |
Post-lamination Troubleshooting and Remedial Actions
Bubbles in PETG sheet lamination can be frustrating. After lamination, it's essential to inspect for any air pockets. These bubbles often form due to trapped air or inadequate pressure. Identifying their source helps prevent future issues.
To address bubbles, start by lifting the lamination slightly. Use a sharp tool to release trapped air. Be cautious; too much pressure can damage the sheet. Another method is to apply heat. A heat gun can help in redistributing the adhesive under the bubble. Always avoid overheating; it can cause further complications.
Sometimes, poor surface preparation leads to bubbles. Ensure the PETG sheets are clean and free from moisture. If bubbles persist, consider adjusting your lamination technique. Experiment with different temperatures and pressures. Learning from these challenges can ultimately improve your lamination skills. Each mistake offers a lesson worth reflecting on.
Conclusion
This article provides essential guidance on how to solve bubbles in PETG sheet lamination, focusing on both preparation and application techniques. It begins by explaining the unique properties of PETG sheets, which influence their behavior during the lamination process. The discussion then shifts to the common causes of bubbles, including inadequate surface preparation and improper adhesive application.
To effectively mitigate these issues, the article emphasizes the importance of thorough pre-lamination surface preparation techniques, as well as best practices in applying adhesives. By following these steps, individuals can significantly reduce the occurrence of bubbles, leading to a smoother and more successful lamination outcome. Additionally, it offers troubleshooting tips for post-lamination processes, ensuring that any issues can be addressed promptly.

 Benchmark Plastic